With Dentrix Enterprise, you can create custom letters that you can mail to customers. For example, you can send your patients a Welcome Back letter if your organization has been closed due to the COVID-19 pandemic. To create a custom letter, you will need to have Microsoft Word installed as well as the Dentrix Enterprise Letter Merge plug-in. If you need assistance with the Dentrix Enterprise Letter Merge plug-in, please contact Dentrix Enterprise Support.
The following instructions explain how to create a custom letter template using Microsoft Word 2007, 2010, or later.
How To
- Open a blank document in Microsoft Word.
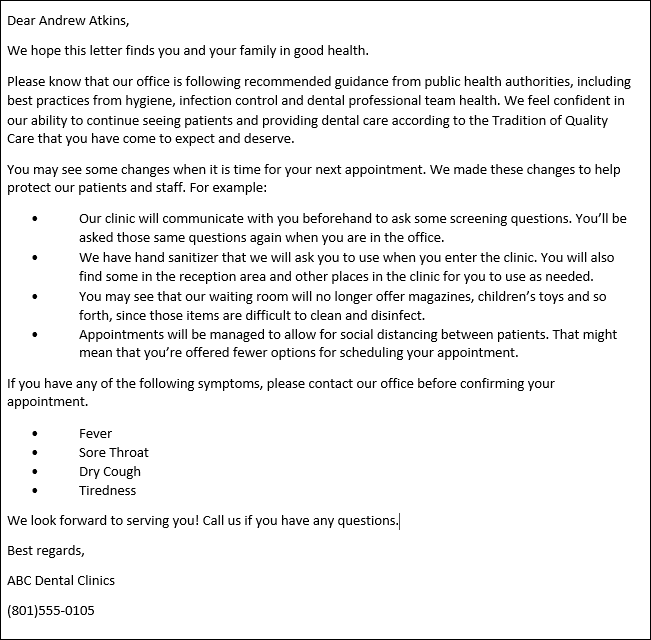
- Type in the text of the Welcome Back letter. Refer to the ADA’s Welcome Back Reassurance Sample Letter for ideas on the appropriate message to send to your patients.
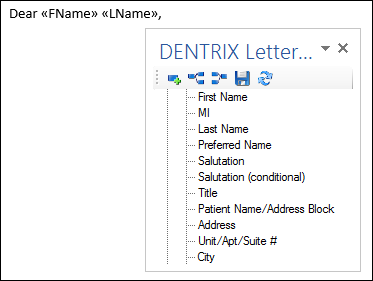
- Insert any merge fields from Dentrix Enterprise as needed. For example, if you want to include the patient’s first and last name in the salutation. Place your cursor in the body of the document where you want to insert a merge field.
- On the Mailings tab, click Letter Merge Fields.

- Insert the appropriate merge field by expanding the category and double-clicking the desired merge field.
- Continue adding your desired merge fields into the appropriate places of your document.
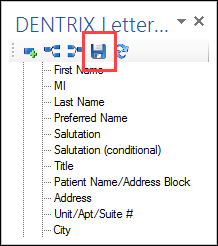
- Once your document is finished, click the Save Letter Merge Fields button on the Dentrix Letter Merge Fields panel toolbar.
- In the Microsoft Word Save As dialog box, name the document. Important: The document name can be no more than seven characters in length.
- Click Save. Important: You must save the document in the correct document directory. To verify the path, in the Office Manager, go to Maintenance > Practice Setup > Preferences. Click the Paths tab. The Document Path is where Dentrix Enterprise looks for document templates that it can merge. Save your new document template in that folder.
Merging Dentrix Enterprise Data to your New Template
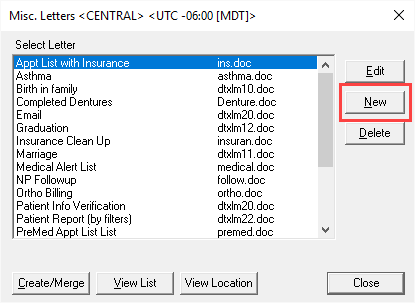
- From the Office Manager, click Letters. Click the desired category for your new letter.
- Click New.
- Give the letter a name.
- In the Merge Data File Name, type the name of the template with the extension of .out. For example, reopen.out.
- In the Merge Letter Template, type the name of the letter you created in Microsoft Word. The file extension must end in .doc. For example, reopen.doc.
- In the Patient Filters tab, select any desired filters. This is where you can decide to exclude patients that meet certain criteria. However, if you are sending a letter that you want to go out to all patients, it’s best to not set any filters.
- In the Data Fields tab, make sure you select any data field that you added to the Microsoft Word document. For example, if you had set up the template to include a patient’s first and last name, you must have those data fields selected here.
- Once finished, click OK.
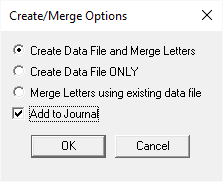
- To merge the data with the document, click Create/Merge.
- Make sure to select Create Data File and Merge Letters. In addition, you can select the Add to Journal check box if you want a record in the patient’s Office Journal that you sent them this letter.
- Click OK to begin the letter merge with Microsoft Word.
- Once finished, you can then send your letter to all your patients.
Additional Information
- For more information, view the Creating document templates using Word 2007 or 2010 Help topic.


