If your practice has re-opened, you’ve probably established a protocol for screening patients for COVID-19 prior to each appointment. Using the Appointment Check List in Dentrix Enterprise is a good way to communicate to your team that the screening protocol you have in place has been completed for each patient with an appointment.
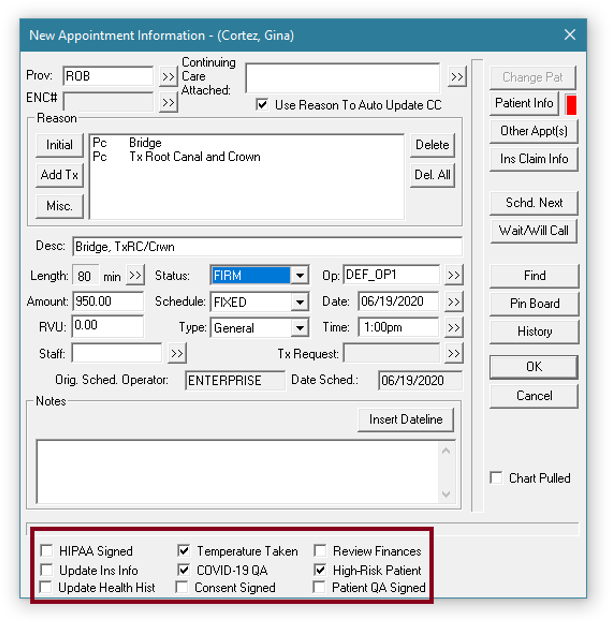
You can create a customizable checklist that can be used to communicate details about the patient’s appointment to the rest of the team. When scheduling a new appointment or reviewing appointment details, you can select the applicable checklist items found at the bottom of the New Appointment Information window.
Customize the Appointment Check List
- In the Office Manager, from the Maintenance menu, point to Practice Setup, and then click Definitions.
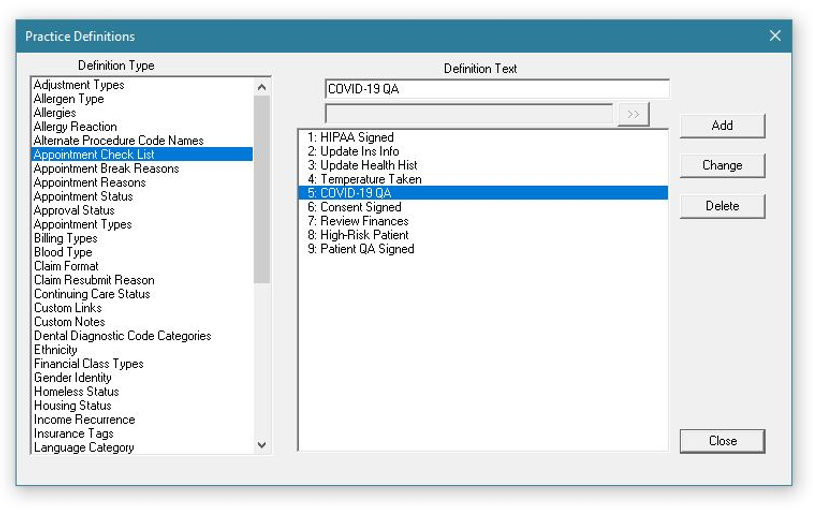
- From the Definition Type list, select Appointment Check List.
- Enter the Definition Text as you want it to appear on the Appointment Check List.
- Click Add. You can have up to 12 items on the Appointment Check List.
Here are some ideas of items you may want to include on your Appointment Check List:
- Temperature Taken
- High-Risk Patient
- COVID-19 Questionnaire
- Patient QA Complete
- Consent Form Signed
By customizing the Appointment Check List, you can communicate important details about the patient to the rest of your team, preparing your team for the patient’s appointment. Using the Appointment Check List can help streamline the COVID-19 screening and patient check-in process for your practice.
Additional Information
- For more information on adding a checklist to the Appointment Information window, view the Appointment Check List Help topic.
- For more information about setting up practice definitions, view the Practice Definitions Help topic.


